

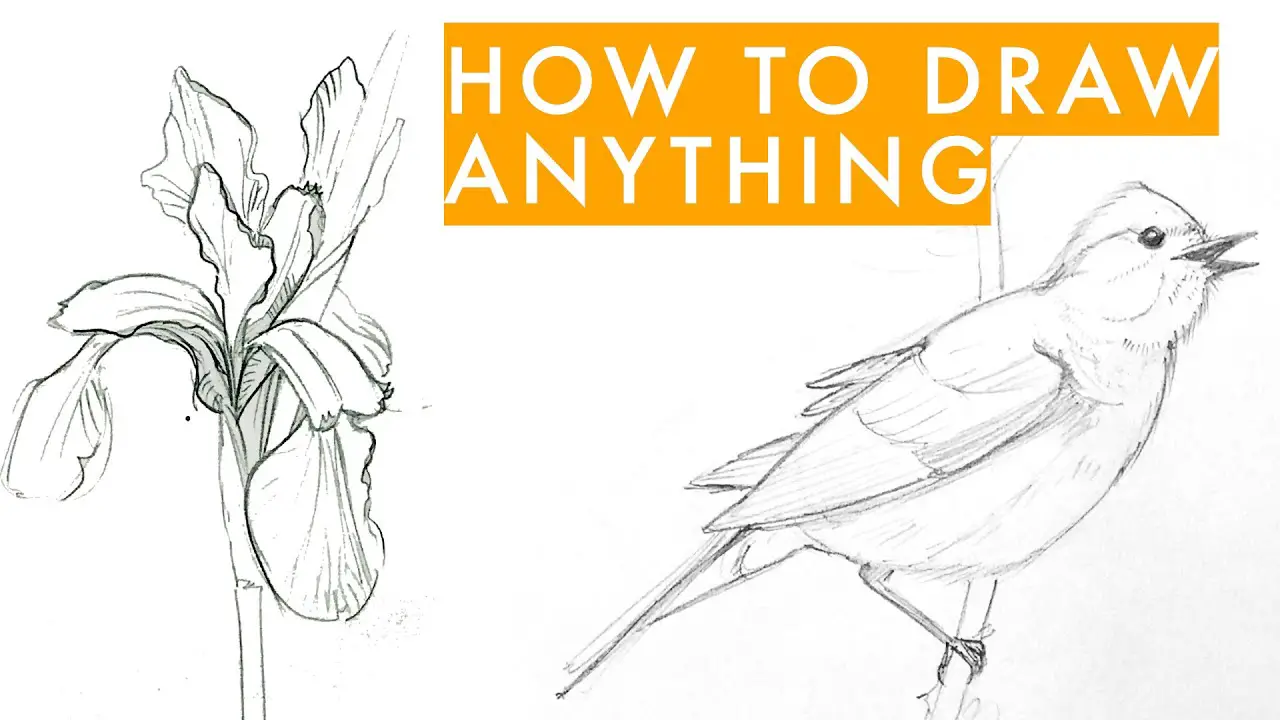
Hello, fellow art lovers! Learning to draw can be quite the adventure, especially for beginners like us. I embarked on my drawing journey about two years back (time truly flies, doesn’t it? 😲), and it’s been quite the ride with its fair share of challenges.
In this post, I’m thrilled to pass on some tips, resources, and insights gleaned from my own experiences to kickstart your drawing journey. My aim is to assist budding artists in identifying the necessary tools, skills, and resources to fast-track their learning process while steering clear of some of the pitfalls I encountered when I first began.
I have split this guide into five sections:
- The essential art supplies you’ll need.
- Some basic mark-making techniques.
- How to find references for your drawings.
- Demonstration of how to approach a simple drawing. You’ll absolutely have to draw along though (no ifs and buts).
- My favorite resources for learning art fundamentals.
So let’s get started! ✏️
Gather the most essential drawing supplies

Drawing is one of the least equipment-intensive hobbies and when you’re just starting out, the worst thing you can do is to get obsessed with getting new shiny art supplies all the time because when you go down that path you constantly doubt whether your lack of art progress is because of not having the right supplies or practice (which is the likely culprit from my experience).
One thing I learned the hard way is to start drawing with the most basic art supplies and gradually add or replace tools when you need to. Here’s everything you’ll need to get started:
- Pencils of different hardness. From my experience, something like an HB or 2H is perfect for outlines, and having only two softer pencils like a 2B paired with a 5B is more than enough to draw convincing values.
- An eraser. A kneaded eraser is also a nice addition.
- Plain white paper sheets like those used for printing. A cheap sketchbook is also okay as long as you don’t become obsessed with curating the perfect sketchbook like I did. Avoid papers with lines because those can be distracting for drawing.
- A blending stump is optional.
That’s about all I have worked with over the last couple of years, and I’m even using some of the same stuff I purchased last year to this day. If you don’t have all the supplies listed above yet, don’t let that keep you from starting drawing today. Improvise and work with what you already have!
One word of advice though (I hope I’m not sounding too preachy), as a beginner, it is probably better to learn drawing in monochrome and advance to colored mediums once you’re comfortable with the basics. Also, unless you already have a drawing tablet, it is better to start drawing with analog tools, which require a much lower investment. Only invest in digital drawing tools once you have some practice with traditional mediums.
Do some warmup exercises to practice basic mark-making skills.

There are two broad types of marks you draw on paper: first, the line work to mark the general shape or outline of your drawing subject, and secondly, shading to define the values in a drawing. But as beginners, we often lack control over the pencil, and that can interfere with our ability to draw confident marks on paper.
One quick warmup exercise to improve your line work is to place two dots on a piece of paper and connect them with a fluid pencil stroke. You can vary the positioning and spacing between the two dots to practice drawing straight lines confidently without a ruler. You can similarly practice drawing random curved lines, circles, ellipses, and boxes on a piece of paper to improve your hand-eye coordination and control.
To simplify the shading, you can focus on learning the parallel hatching technique first, which I think is the simplest way to shade for beginners. It involves drawing a series of lines in the same direction. You can choose which angle you want to shade based on what you’re most comfortable with. Being right-handed, It feels most natural for me to shade from the lower left to the upper right, and you can quickly figure out what angle works best for you.
Over time, you’ll explore different shading techniques like layering and contour hatching but it’s better to devote the initial few weeks of drawing to practice the parallel shading, which is relatively easier to master, and gain some confidence early in your drawing journey.
Find references to draw.

As a beginner, it is daunting to draw from life right from the start, so it is critical to know how to find good photo references online to ease yourself into drawing.
As a general rule, you want to find references with nice contrast and shapes that you find interesting. Also, if you want to learn portrait drawing, find references from strangers because opting for photos of your favorite celebrities can create unnecessary pressure to capture the likeness of the face as a beginner.
References don’t just need to be photos of real people or scenes from life. You can use paintings and drawings by other artists as a reference for your drawings too.
Pinterest is generally great for finding references in a specific style. If you’re looking for some inspiration, here are some Pinterest boards I have saved where you can find interesting references and ideas for your drawings.
Draw!
It’s time for some practice! If you’re overanalyzing how to start drawing, just take the plunge and use the next 20 minutes to draw this pretty cat with me. It’s okay if you take slightly longer than that, but try not to fuss too much about creating the perfect drawing.
Instructions:
- Grab a paper, pencil, and an eraser, and give yourself 10 minutes to create an outline and another 10 minutes to shade the drawing.
- It’s best to place your device directly in front of you so you can draw the reference without lifting or turning your head. This makes it a lot easier to compare your drawing to the reference as you go along.
- Don’t think too much about what you’re drawing and focus on the shapes that you see.
- Pay attention to the proportions and angles between the different parts of the drawing. It’s helpful to occasionally step back and zoom out a bit to check proportions.
- It’s okay to draw over any pencil marks and make corrections using an eraser if necessary.
- Remember if a drawing is messy it is a sign that you’re learning something new.
- Be proud of your effort!
Resources to learn art fundamentals.

I think that while we are lucky to be living in an era where we can access world-class art education from the comfort of our homes, at the same time, navigating the sea of information can be overwhelming for beginners.
Here are some of my favorite courses and books for learning drawing fundamentals:
- Proko – An overall great fun resource for learning drawing basics irrespective of your art style or interest.
- Draw a box – super effective at learning perspective and constructive drawing.
- Chris Hong Skillshare Course – A nice tutorial for improving your portrait drawing.
- New Masters Academy – A comprehensive library of drawing fundamentals taught by leading art instructors like Glenn Vilppu and Steve Huston.
- Patreon tutorials by Loish – Great insights and tips especially for those wanting to learn drawing digitally.
- Art books by Andrew Loomis.
- Drawing on the Right Side of the Brain by Betty Edwards.
- Charles Bargue Drawing Course by Gerald Ackerman.
